5 Easy Steps to DIY Shower Valve Repair In San Diego
Did you know that a leaking shower can waste up to 2,700 gallons of water per year? Taking care of your shower valves is essential not only for water conservation but also to prevent costly repairs. With these 5 straightforward tips, you can learn how to repair shower valves yourself and save money on professional services. From fixing leaks to replacing worn-out parts, this guide will empower you to tackle common shower valve issues with confidence. Stay tuned for practical advice that will have your shower running smoothly in no time.
Understanding Shower Valve Issues
Common Signs
Shower valve issues can manifest through leaks, low water pressure, or inconsistent temperature. These signs indicate potential problems.
- Water dripping when the shower is off.
- Fluctuating water temperature during use.
- Reduced water flow compared to normal.
Identifying these signs early can help prevent further damage and costly repairs.
Types of Valves
There are mainly two types of shower valves: pressure balance and thermostatic.
- Pressure balance valves maintain water temperature by adjusting pressure ratios.
- Thermostatic valves control temperature precisely, offering a more consistent shower experience.
Understanding the type of valve in your shower is crucial for effective troubleshooting and repair.
Preparing for Repair
Gather Supplies
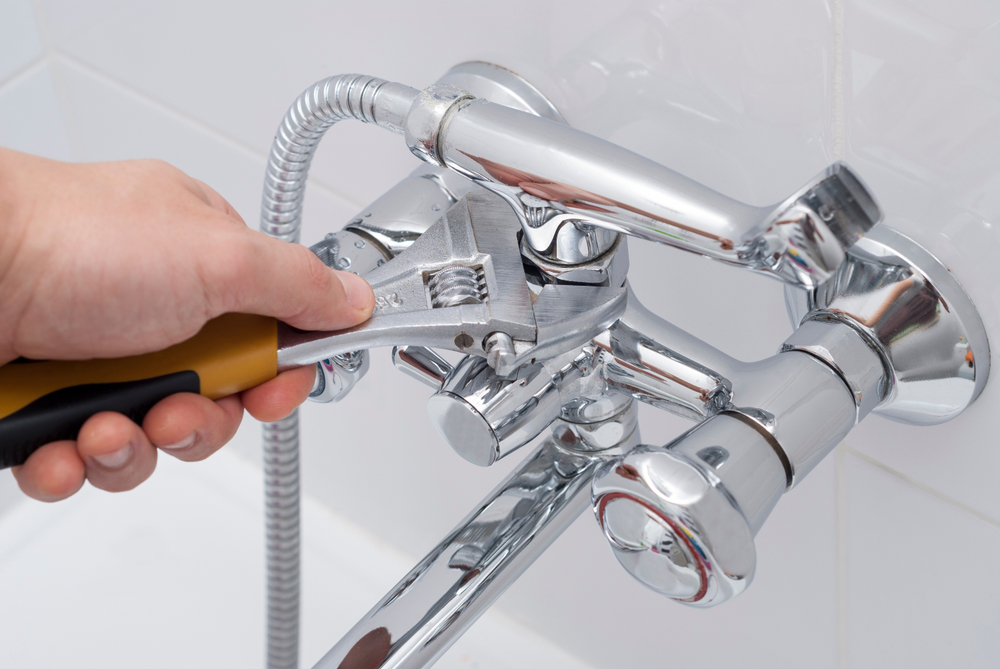
To repair shower valves DIY, start by gathering necessary supplies like a screwdriver, replacement parts, and plumber’s grease. Look for specific parts based on the valve type.
Ensure you have Teflon tape, an adjustable wrench, and a cloth to clean the area thoroughly. Having all supplies ready streamlines the repair process.
Turn Off Water
Before starting the repair, turn off the water supply to the shower. Locate the main shut-off valve, usually near the water meter or in the basement.
Turning off the water prevents any leaks or accidents during the repair process. Verify that no water is running before proceeding with the repair.
Block Drain
Use a drain stopper or cover to block the shower drain while working on the valve. This prevents small parts from falling into the drain and getting lost.
Blocking the drain also ensures that no debris enters it during the repair, avoiding potential clogs later on.
The Repair Process
Remove Handle
To remove the handle, use a screwdriver to take off the cover and unscrew the handle assembly.
Remove Trim Plate
Next, take off the trim plate by unscrewing it carefully to reveal the valve body.
Assess and Cut
Assess the valve body for any damage or corrosion. Use a tubing cutter to cut out the damaged section.
- Pros:
- Easy removal process.
- Allows easy access for further inspection.
- Cons:
- Requires tools for removal.
- Care must be taken not to damage surrounding components.
Valve Removal
Once you’ve assessed and cut out the damaged section, proceed with removing the valve from the pipe.
- Steps:
- Unscrew the valve from the pipe connection.
- Inspect for any remaining debris or damage.
- Clean the area before installing a new valve.
Installing New Valve
Insert New Cartridge
To insert a new cartridge, begin by removing the old one carefully. Check for any debris or buildup in the valve body before placing the new cartridge. Ensure it fits snugly to prevent leaks.
Secure Valve Clip
Securing the valve clip is crucial to keep the new cartridge in place. Slide the clip over the cartridge and ensure it locks securely into position. This step prevents any movement that could lead to malfunctions.
Test for Leaks
After installing the new valve, it’s essential to test for leaks. Turn on the water supply and observe the valve closely for any signs of leakage. Check both hot and cold water settings to ensure proper functionality.
When testing for leaks, pay attention to any dripping or unusual sounds coming from the valve. Address any issues promptly to prevent water damage and maintain optimal performance.
Maintenance Tips
Regular Checks
Regularly inspect your shower valves for any signs of wear and tear like corrosion or mineral buildup. Check for leaks by turning on the water and observing any drips.
Ensure the valve handles are functioning smoothly without any stiffness or difficulty in turning them. This can prevent future issues.
If you notice any problems, such as water not shutting off completely, address them promptly to avoid more significant damage.
Leak Prevention
To prevent leaks, consider using thread seal tape when installing or replacing shower valve components. This can help create a tight seal and reduce the risk of leaks.
Another way to prevent leaks is by checking the connections regularly for any loose fittings or damaged seals. Tighten connections if needed to maintain a secure seal.
FAQs
How Can I Identify Common Shower Valve Issues?
To identify common shower valve issues, look out for signs like leaks, inconsistent water temperature, or low water pressure. These could indicate problems with the valve that need attention.
What Tools Do I Need To Prepare For Repairing A Shower Valve?
Gather adjustable wrenches, screwdrivers, plumber’s tape, and a replacement valve kit. Having these tools ready will make the repair process smoother and more efficient.
Is It Possible To Repair A Shower Valve On My Own Without Professional Help?
Yes, with the right guidance and tools, you can repair a shower valve yourself. Following step-by-step instructions and being cautious can help you successfully complete the repair DIY-style.
Why Is Installing A New Shower Valve Important For Functionality?
Installing a new shower valve is crucial for ensuring proper water flow control and maintaining consistent water temperature in your shower. A new valve can enhance your overall shower experience and prevent further issues.
What Are Some Maintenance Tips To Keep My Shower Valves In Good Condition?
Regularly check for leaks, clean the valves to remove any buildup, and ensure all components are functioning correctly. By staying proactive with maintenance, you can extend the lifespan of your shower valves and avoid major repairs.
Please call Frasers Plumbing at (619) 332-0275 for any and all of your plumbing needs.
Conclusion
Give Fraser Plumbing Inc. a call right away to learn more about how our experts can help with leak detection in San Diego, CA.